Last updated on December 7th, 2023
You can be a better photographer today! You don’t need to wait until tomorrow, or the next day, or the next. There are small things you can do right now that will drastically improve your photography.
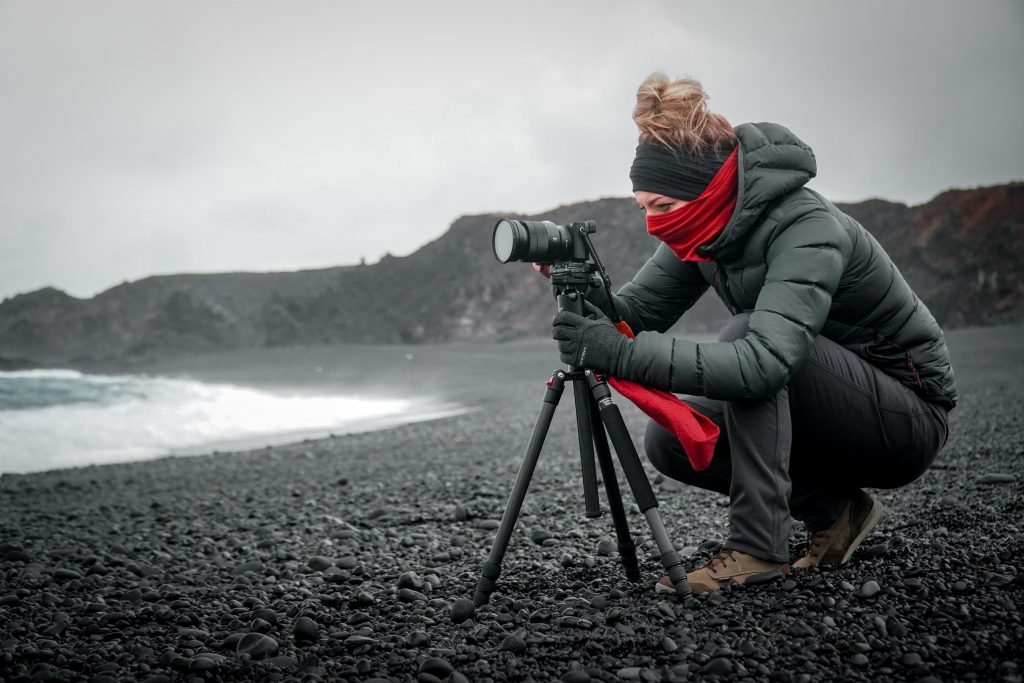
If you haven’t been taking photos for very long, this might all seem too overwhelming and complicated to understand. But it’s not! It’s actually effortless if you know what to look out for and where to find help.
In this blog post, you’ll learn:
- The camera gear photographers should use
- The kind of camera settings they should use
- The lighting they need
- And how post-processing makes them successful
How To Improve Your Photography Skills
Use a Tripod to Stabilize Your Camera and Take Clearer Pictures
A sturdy and reliable camera mount will help you get more precise shots that are less blurry or shaky because of movement from the photographer’s hands with most cameras – especially when shooting in low-light conditions like dusk time!
All types (DSLR models) should scale down their shutter speeds for increased stability without blurriness. They do this by using tripods which also have downward pressure on them while it is turned off.
The camera tripod will not lose its position if someone bumps into one accidentally during photography sessions. With how fast technology moves nowadays, this has become more commonplace than ever before, but having these kinds of tools available can allow photographers maximum creativity control moving forward since they won’t need fear about mishandling the camera while getting the perfect shot.
Plus, you can travel easily with the right camera tripod. That means you won’t miss a beat while out photographing your favorite subject, be it a mountain range or your kids playing with their friends.
Both DSLRs and mirrorless cameras can use tripods to stabilize the camera for better shots because of how manufacturers design them.
But not all models are compatible, so make sure you do some research before investing in one that won’t work well with what kind of camera setup you have now! You want to get something that will last as long as possible, too, without breaking on top of everything else does.
Plus, finding them at any store means more options when looking around, which should lead to getting even more excellent gear than ever.
Here’s what to look for in when shopping for a camera tripod:
A good camera tripod should be sturdy enough
It should be sturdy. This is a given, of course! A tripod that barely stands up and wobbles can ruin all your photos from the get-go if you’re not careful about how it’s positioned or with what kind of materials are used in its design to help keep things stable when you need them most.
Make sure your camera will fit right before buying a tripod
They also usually have different heights available depending on where there might already some height restrictions like, say outdoors only having room trees etc., but this isn’t always an issue either because another thing people look at while purchasing tripods nowadays–maybe more than anything else actually!
Clean Up the Background of Your Photos So That They’re Not Distracting
Improve your photography by cleaning up shots to make your photography look professional. Other stuff in your shot besides your main subjects can make the background of your photos look blurry and distracting. Textures are also not a great idea in photography backgrounds, especially if they start to leak through into shots like these people’s clothing or hair.
Keep Subjects In Focus
Want to improve your photography? Take photos in focus. The main subjects should be in focus with some background. The foreground also helps set up perspective to give depth for subjects; however, this can not always work on its own either when other elements could get lost if they don’t have any separation from their surroundings (like these people’s hair).
A tree or house looming over someone’s head might make them look like ants rather than humans. Now there’s another entirely new problem; now, viewers would never know what story you were trying to tell by photographing something so small–or worse yet, why did anyone take pictures at all?
When All Else Fails, Do Bokeh Photography
That being said, sometimes photographers will forego everything else around just a straightforward subject and blur out the rest of the shot, giving a more abstract and less cluttered appearance. This is how you take photos in bokeh if you want to get fancy. .
Invest In the Best Camera Gear That You Can Afford
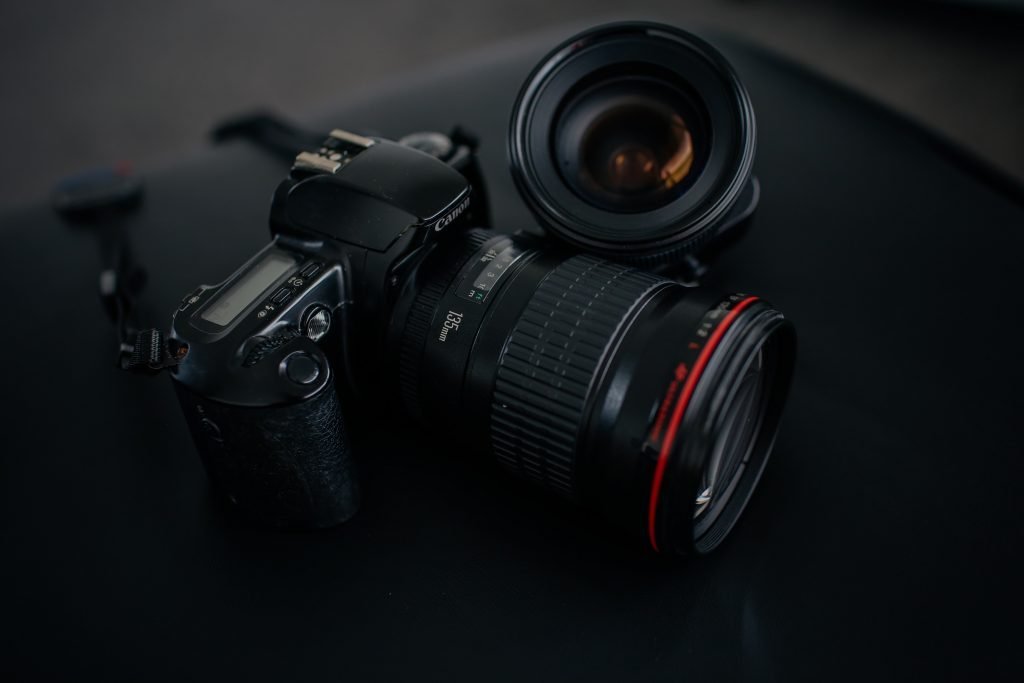
Investing in the best camera gear that you can afford to buy right will help a photographer create some of their most successful images and stories. That being said, it’s just as crucial for photographers to invest money into what they shoot with.
When it comes to investing in a camera, it’s all about the lenses. A good camera will make for a great photograph, but without a fantastic lens–it won’t do as much justice to your investment in that gear or skill set you’ve developed over time!
A great camera to start out with includes the Canon EF-S 18 – 135mm f/ lens because it has a wide range and is really good for beginners.
The Canon EOS Rebel T100 DSLR Camera with an included lens kit also makes this camera the perfect starter set! Another great choice that’s less expensive than these two is Ricoh GR II Digital cameras. They come in different colors to match your style or what you want them suited up as. More professional looking vs. more playful on days off from work.
Just playing around shooting photos of everything but still using advanced settings like aperture control when needed. It comes installed with all sorts of lenses (16) plus extras, including filters & more.
Experiment with Different Angles, Lighting, and Colors to Find Out What Works Best
Some photographers might be the type to experiment with different colors and lighting without any regard for what doesn’t work. They’re more interested in creating an artful image that is full of color than a successful one–which isn’t always bad.
Still, it can lead people astray if their photography goals are something else entirely. Like getting paid or shooting family photos on holidays, etcetera. Improve your photography with some jedi mind-tricks.
Being able-minded enough has never been easy since there’s no natural right way just yet in the beginning. Improve photography skills. Build up that portfolio while testing on your friends and family or going out to explore and take photos of what you’re curious about to see how it turns out.
In the meantime, there are a few colors that always look good in photos and can be used with almost every photo type: reds for portraits or winter scenes; greens (black-and-white) when shooting landscapes where ever they might happen – just as long at least one of them is green! Blues work great, too. Any scene looks better against blue skies all year round.
So, if your subject matter permits, then use blues often. These three color categories have been studied over time by professional photographers who know which ones will yield the best results more than others alone.
Try experimenting but keep those basics close even still throughout everything else new while learning something different from other artists’ inspiration on Pinterest and other search engines.
Practice Working on Composition of Your Photos for the Best Images
Composition is how the photographer arranges their subject matter in a way that tells more of a story. It’s everything from what your taking photos on, where you take them to position and angle. It can mean whether or not it has anything “in front” (a person’s face blocking out something) as well as “behind.”
For example, trees behind someone who is running away with emotions too big for themselves presently. All these different elements can contribute positively to capturing people looking good while performing even better!
To practice the composition of your photography, do the following:
Take a photo of something you and your family loves to do together, but try taking it from another perspective. You’ll find that it’s easier than ever before! Excitement will be in the air and this one because everyone has their own opinion on what angle is best for photography.
So if they get all invested in helping out, then no matter how hard things might seem at first glance, become easy when working collaboratively instead by just asking questions about why someone’s showing interest like “What are some thoughts? What would happen here?”
It could lead them away too far, though. Make sure not only to take constructive criticism seriously while also limiting time per person who speaks up. This should give each member an equal opportunity turn without feeling rushed.
Next, you can set up your shot using the rule of thirds, which is an excellent place to start when you’re just starting out and want a guideline. This is where subjects are usually placed in the frame, which can help with composition if they aren’t too busy looking for their camera settings or thinking about how lighting will affect things (which happens all of the time).
Put your subject to the side of the shot or in the middle to practice the rule of thirds. It’s a good practice to do this all the time, not just when you’re starting out.
An excellent way for beginners (or even experienced photographers) is taking photos of faces and being sure that they are looking at your camera lens with their eyes open wide enough. Make sure it doesn’t look like they’re squinting, which can make someone seem tired or that they have light in their eyes.
A good photo may not be the one with a beautiful sunset or landscape in it. It might just show someone’s face, hands on their hips, and they’re smiling at you as if to say “yes.”
A well-composed portrait that is simple like this will always serve people better than complicated images of nature where details are lost because there was too much in the frame.
Experiment with Light and Shadows
The kind of light in your photo will make a huge difference on how that image looks. Experiment and take photos with different lighting to see what you get! Some cameras can auto detect the type and quality, but it may be worth experimenting yourself before relying solely upon this capability for all photos- especially when shooting indoors or outdoors at high noon where there is little variation between shadows (in which case low contrast) versus highlights like bright sun off water reflecting into one’s eyes.
A great way photographers should improve photography outside school would probably just involve keeping up blogs/websites they enjoy following. You might have a particular aesthetic you want to emulate. It’s more than acceptable to take a few lighting tips from other professional photographers you admire.
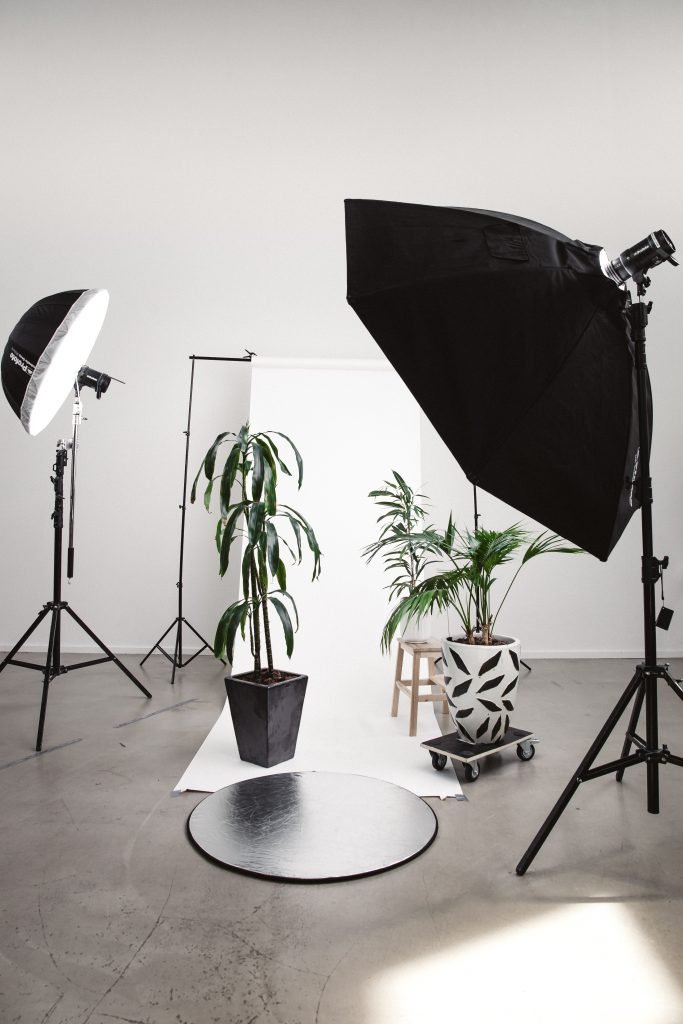
When natural lighting isn’t working for you, create your own studio lighting. Some lights a skilled photographer should have on-hand include light boxes and light tent. You can also use a light reflector to bounce the ambient lights around you into your desired area in order for it not be too dark or harsh on whoever is being photographed (especially if they are young).
A photographer should always have some kind of camera settings and lighting that will improve their photography skills, whether at home with friends/family members photographing them by candlelight during winter months when natural daylight isn’t available outside all day long; capturing family photographs indoors where there’s little-to no sunlight coming through windows from early morning until evening hours after sunset.
This includes those photographically inclined individuals who might never experience nature firsthand like people living inside skyscrapers year round with working indoor gardens as well! And don’t be afraid to use your flash. Plenty of photographers experiment with flash to create moody images like seen in the movie, Black Swan.
Some of these settings and lighting might include: -flash as a back-up; it helps capture moments that your camera’s sensor can’t pick up on quickly enough when you don’t have any light to work with (i.,e.: dark hallways or an outside setting at night) but be careful not overexpose areas where there is natural sunlight coming through windows during midday hours by using flash indoors!
Learn the Basics of Photography: Aperture, shutter speed, ISO, and Focal Length
The best camera settings to use for the beginner photographer are: Aperture, Shutter Speed Setting of either Auto or Manual (preferably in seconds), ISO set at the lowest setting with sensor sensitivity as low on your lens if possible, and using it only when necessary. And finally, Focal Length that is wide enough so you can see what’s around them but not too far away from their subject matter!
You’ll find aperture settings most useful for portraits, group shots, and close-ups. Shutter speed is best used in low light or at night to prevent getting too much motion. Play around with shutter speeds and aperture settings when you experiment.
What is ISO?
ISO is defined by the level of brightness in your photos. The lower the number, and thus ISO sensitivity is less sensitive to light. This means you should use a lower ISO number when there is a lot of light. The higher the ISO number, and thus sensitivity to brightness increases, the you need to create more light. But do remember that it can introduce noise in your photos.
What is aperture?
Aperture is the size of a hole that lets light into the camera, and shutter speed controls how long we let it stay there before opening again, affecting exposure time (the amount of brightness versus darkness). So when you’re deciding on what aperture to use for different shots, just remember: smaller numbers mean more light (and thus more blurry), and higher numbers mean less exposure time.
What is an F-stop?
The F-stop indicates the ratio of lens focal length to effective aperture diameter, which is a measure for relative brightness. So when you’re trying out different shots with your camera, just remember that a lower number means brighter photos. In contrast, higher ones result in darker images because they let in fewer photons per unit area.
On every shot taken is where shutter speed comes into play: it controls how long we allow these particles through before closing again; depending on whether those little bits stay there or not will affect our overall photo’s “brightness.”
How can post processing can make or break your photography?
You can take great shots and turn them into something less than ideal, or you could have a mediocre photo go from looking unimpressive in camera all on its own just by adding some filters! Many photographers don’t realize this until they start editing images themselves (or see for other reasons). It really does make such an impactful difference.
I know one photographer who used nothing but Lightroom presets throughout his entire photography career. He saw how much better those were compared even when shooting raw files – talk about dedication.
Should you invest in editing software?
It doesn’t take much to invest in software like Lightroom. I would suggest checking out the tutorials on YouTube to see for yourself how much a difference it makes.
You’ll find that if shooting raw files gives excellent results even without any editing done right away – this is because all those choices are still available after taking photos (and not just limited before). Then, you can use the software as a way to improve your project. Even out light balance of your project or add saturation. The options are endless. You can get creative and have fun with it. You never know – the options are endless.
Don’t Be Afraid to Take Pictures That Are Not Perfect or Beautiful
Everyone has a different style, and photographing the same subject can make for fascinating comparisons; close-ups of random things you find in your house will bring on some creative sparks!
Consider turning off any flash options if they’re enabled by default – just because one person might like how those turn out doesn’t mean others do; trust yourself with what looks good enough without having anyone tell you otherwise. The most important thing is experimenting with something new until something clicks. Practice every day. Keep goin’, never give up!
